INSTALLATION GUIDE
FLOATING
This is the most popular method of fixing. Creates a seamless look as no fixings are visible.
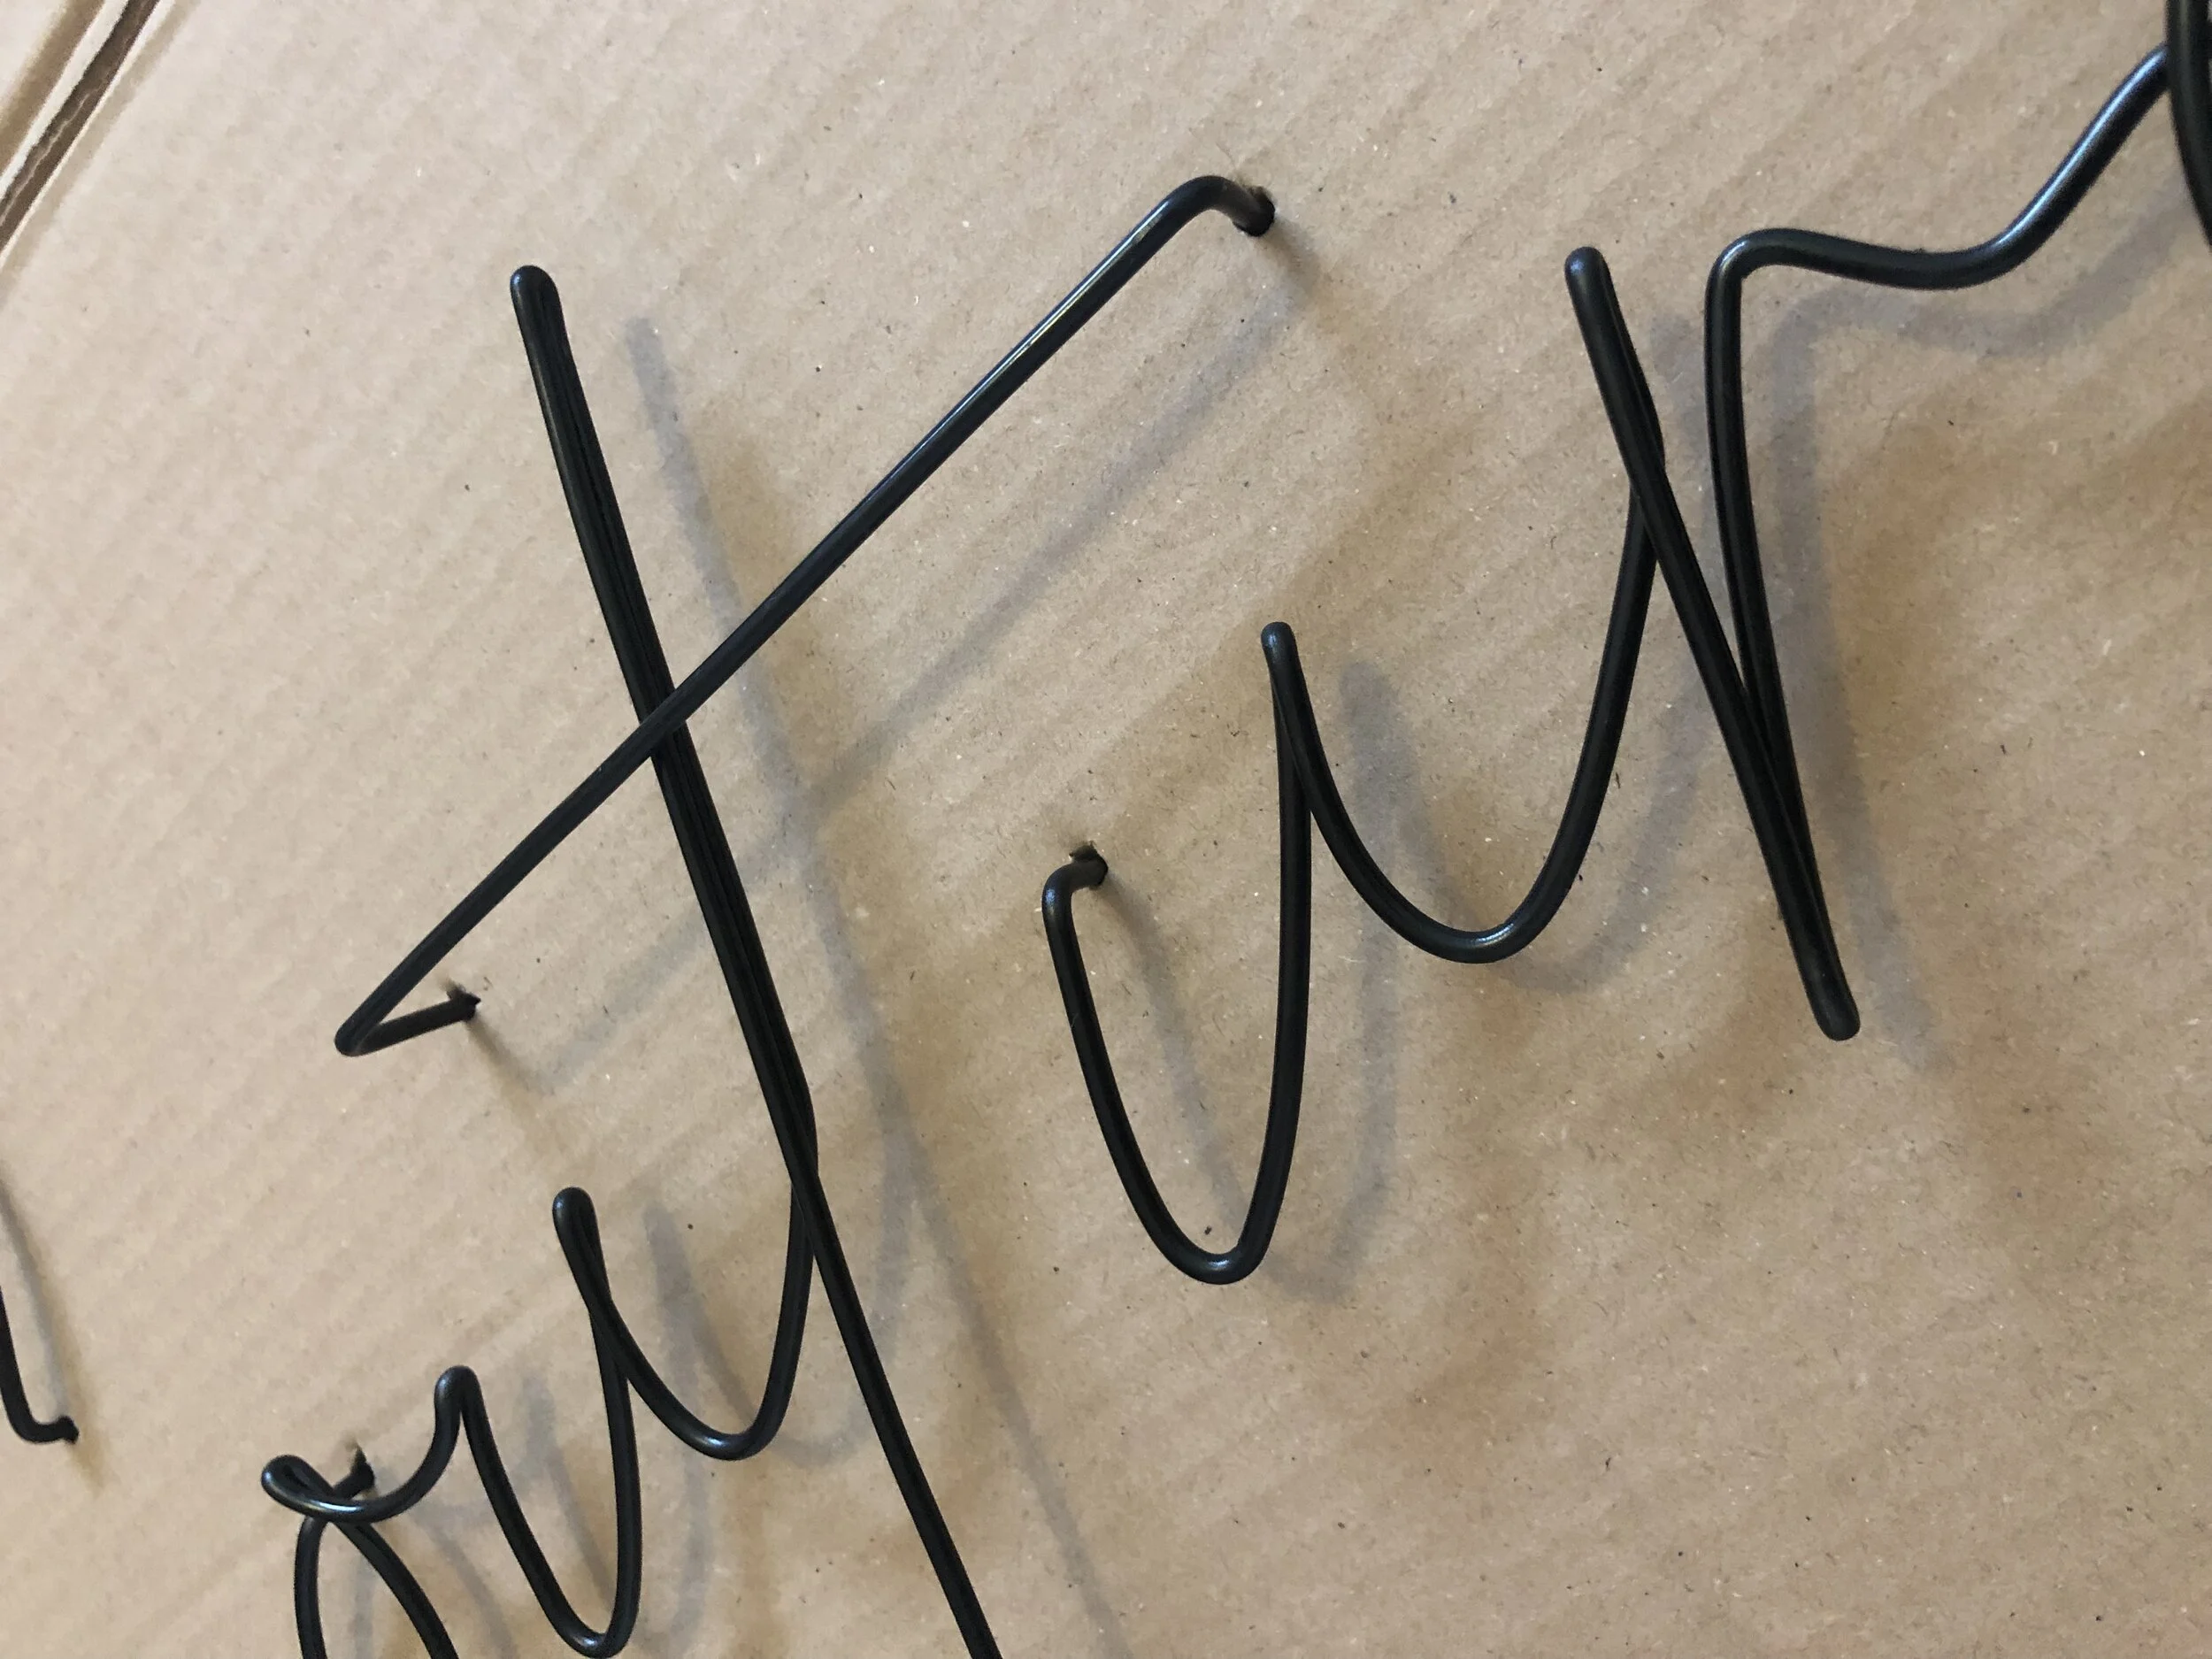
Your order will have ‘prongs’ made onto the ends which slot into drilled holes in your wall.
Hang out of the reach of children and pets.
HOW TO HANG
Choose placement by holding design against the wall
Use a pencil to mark out where the prongs are. This is where the holes will go
Use a drill to drill holes into the pencil marks at a 90 degree angle. Drill down at least 1cm deep. You will need to use either a 2mm or 3mm drill bit depending on the thickness of your wire
Carefully push the prongs into the holes to hang the sign. It will be a snug fit.
FLAT
Don’t fancy drilling holes in your wall? No problem! With the ‘flat’ option, you can hang with nails or clear hanging hooks (such as command hooks).
Damage free - perfect for renters!
Hang out of the reach of children and pets.
HOW TO HANG - NAILS
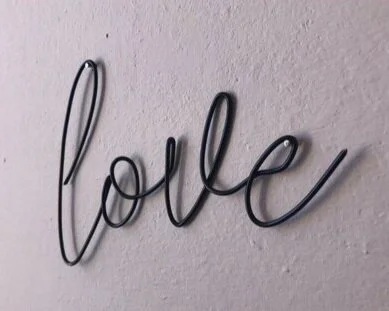
Choose placement by holding design against the wall
Use a pencil to mark out where the nails will go. It is most secure when you hang at the first and last letter where possible. For very long words, you may also need a nail in the middle.
Hammer the nails into the pencil marks and place the sign onto the nails
HOW TO HANG - CLEAR HOOKS

Choose placement by holding design against the wall.
Using a pencil, mark out where the hooks should go. It is most secure when you hang at the first and last letter where possible. For very long words, you may also need a hook in the middle.
Follow the instructions on the back of the packet and hang the sign on the hooks.